Pot Stand
(for alcohol stoves)
Name: Pot stand, pot support.
Description of difficulty: Pretty easy, but the pointy sharp edges can bite.
Overview: Cut a rectangular piece of hardware cloth, form it into a cylinder, and lock the ends together. The little leftover bumps on the top and bottom edges will always be there to scratch you, but will help this thing hold onto both the pot and the ground, making it more stable.

Technical details:
Height: 2.125" (54 mm).
Diameter: Variable, depending on the size of your pot.
Weight: 0.5 to 1 ounce (14 - 28 g), depending on size.
Materials list:
Hardware cloth, one half inch size
Wire cutter (side cutter)
Needle nosed pliers
Sandpaper (100 grit, or thereabouts)
Step-by-step construction:
1: Decide on size.
Measure the diameter of the pot you’re going to use. Multiply this number by three and subtract one inch (25 mm).
Example, for a 5 inch (127 mm) pot: Diameter = 5". Multiply by 3 yielding 15". Subtract 1" yielding 14". So for a 5 inch pot, start with a piece of hardware cloth 14 inches (356 mm) long.
2: Cut a piece of hardware cloth.
Put on your work gloves. Use the wire cutter to snip out a rectangle of hardware cloth five squares wide (about 2.6 inches, or 66 mm), and matching the length you determined in the first step.

3: Trim off the stubs.
Use the wire cutter to snip off the leftover stubs and generally make the piece as innocuous as you can. No matter what you do this thing will always have a little bite to it, which is one of its advantages.
4: Bend into a cylinder.
Gently bend the piece you cut into a hollow cylinder and hold it against the bottom of your pot to see how much overlap you have. The finished pot stand should be about one inch (25 mm) smaller in diameter than your pot, leaving a half inch (13 mm) overhang all around when you set the pot on it.

5: Trim off excess.
You want to end up with one extra square on each end (one half inch) but no more. Cut away the vertical pieces of wire in this overlap, leaving six, half inch (13 mm) stubs of wire projecting out horizontally from each end. You’ll use these to lock the two ends together to form the final cylinder.
6: Tie the ends together.
Gently squeeze the hardware cloth into its final cylindrical shape and use the needle nose pliers to bend the stubs of wire on one side over the vertical parts of the woven wire on the other end, and vice versa. When you’re done, you’ll have a tight cylinder of woven wire cloth that holds itself together.
It will also be at or near the optimum height for the stoves described here. Ideally the bottom of your cook pot should be about 1.4" (35 mm) above the top edge of the stove. This height will allow for complete combustion without keeping the pot too far above the stove.

7: Burn it in.
This is made from galvanized steel wire, i.e. steel wire dipped in zinc to keep it from rusting. When zinc is heated it gives off toxic fumes. Don’t breathe the fumes and don’t get them in your food.
To avoid this, set your new pot stand on a small wood fire for awhile. Not a big hot fire, but a small, cool one. Let it bake and fume and smoke. Be sure that you’ve got all the zinc singed pretty well, and it should be as safe as it’s going to get.
If any of this bothers you, then think about using a pot support made of something else. The varieties are endless. Check the “more info” section at the end of all this for additional resources.
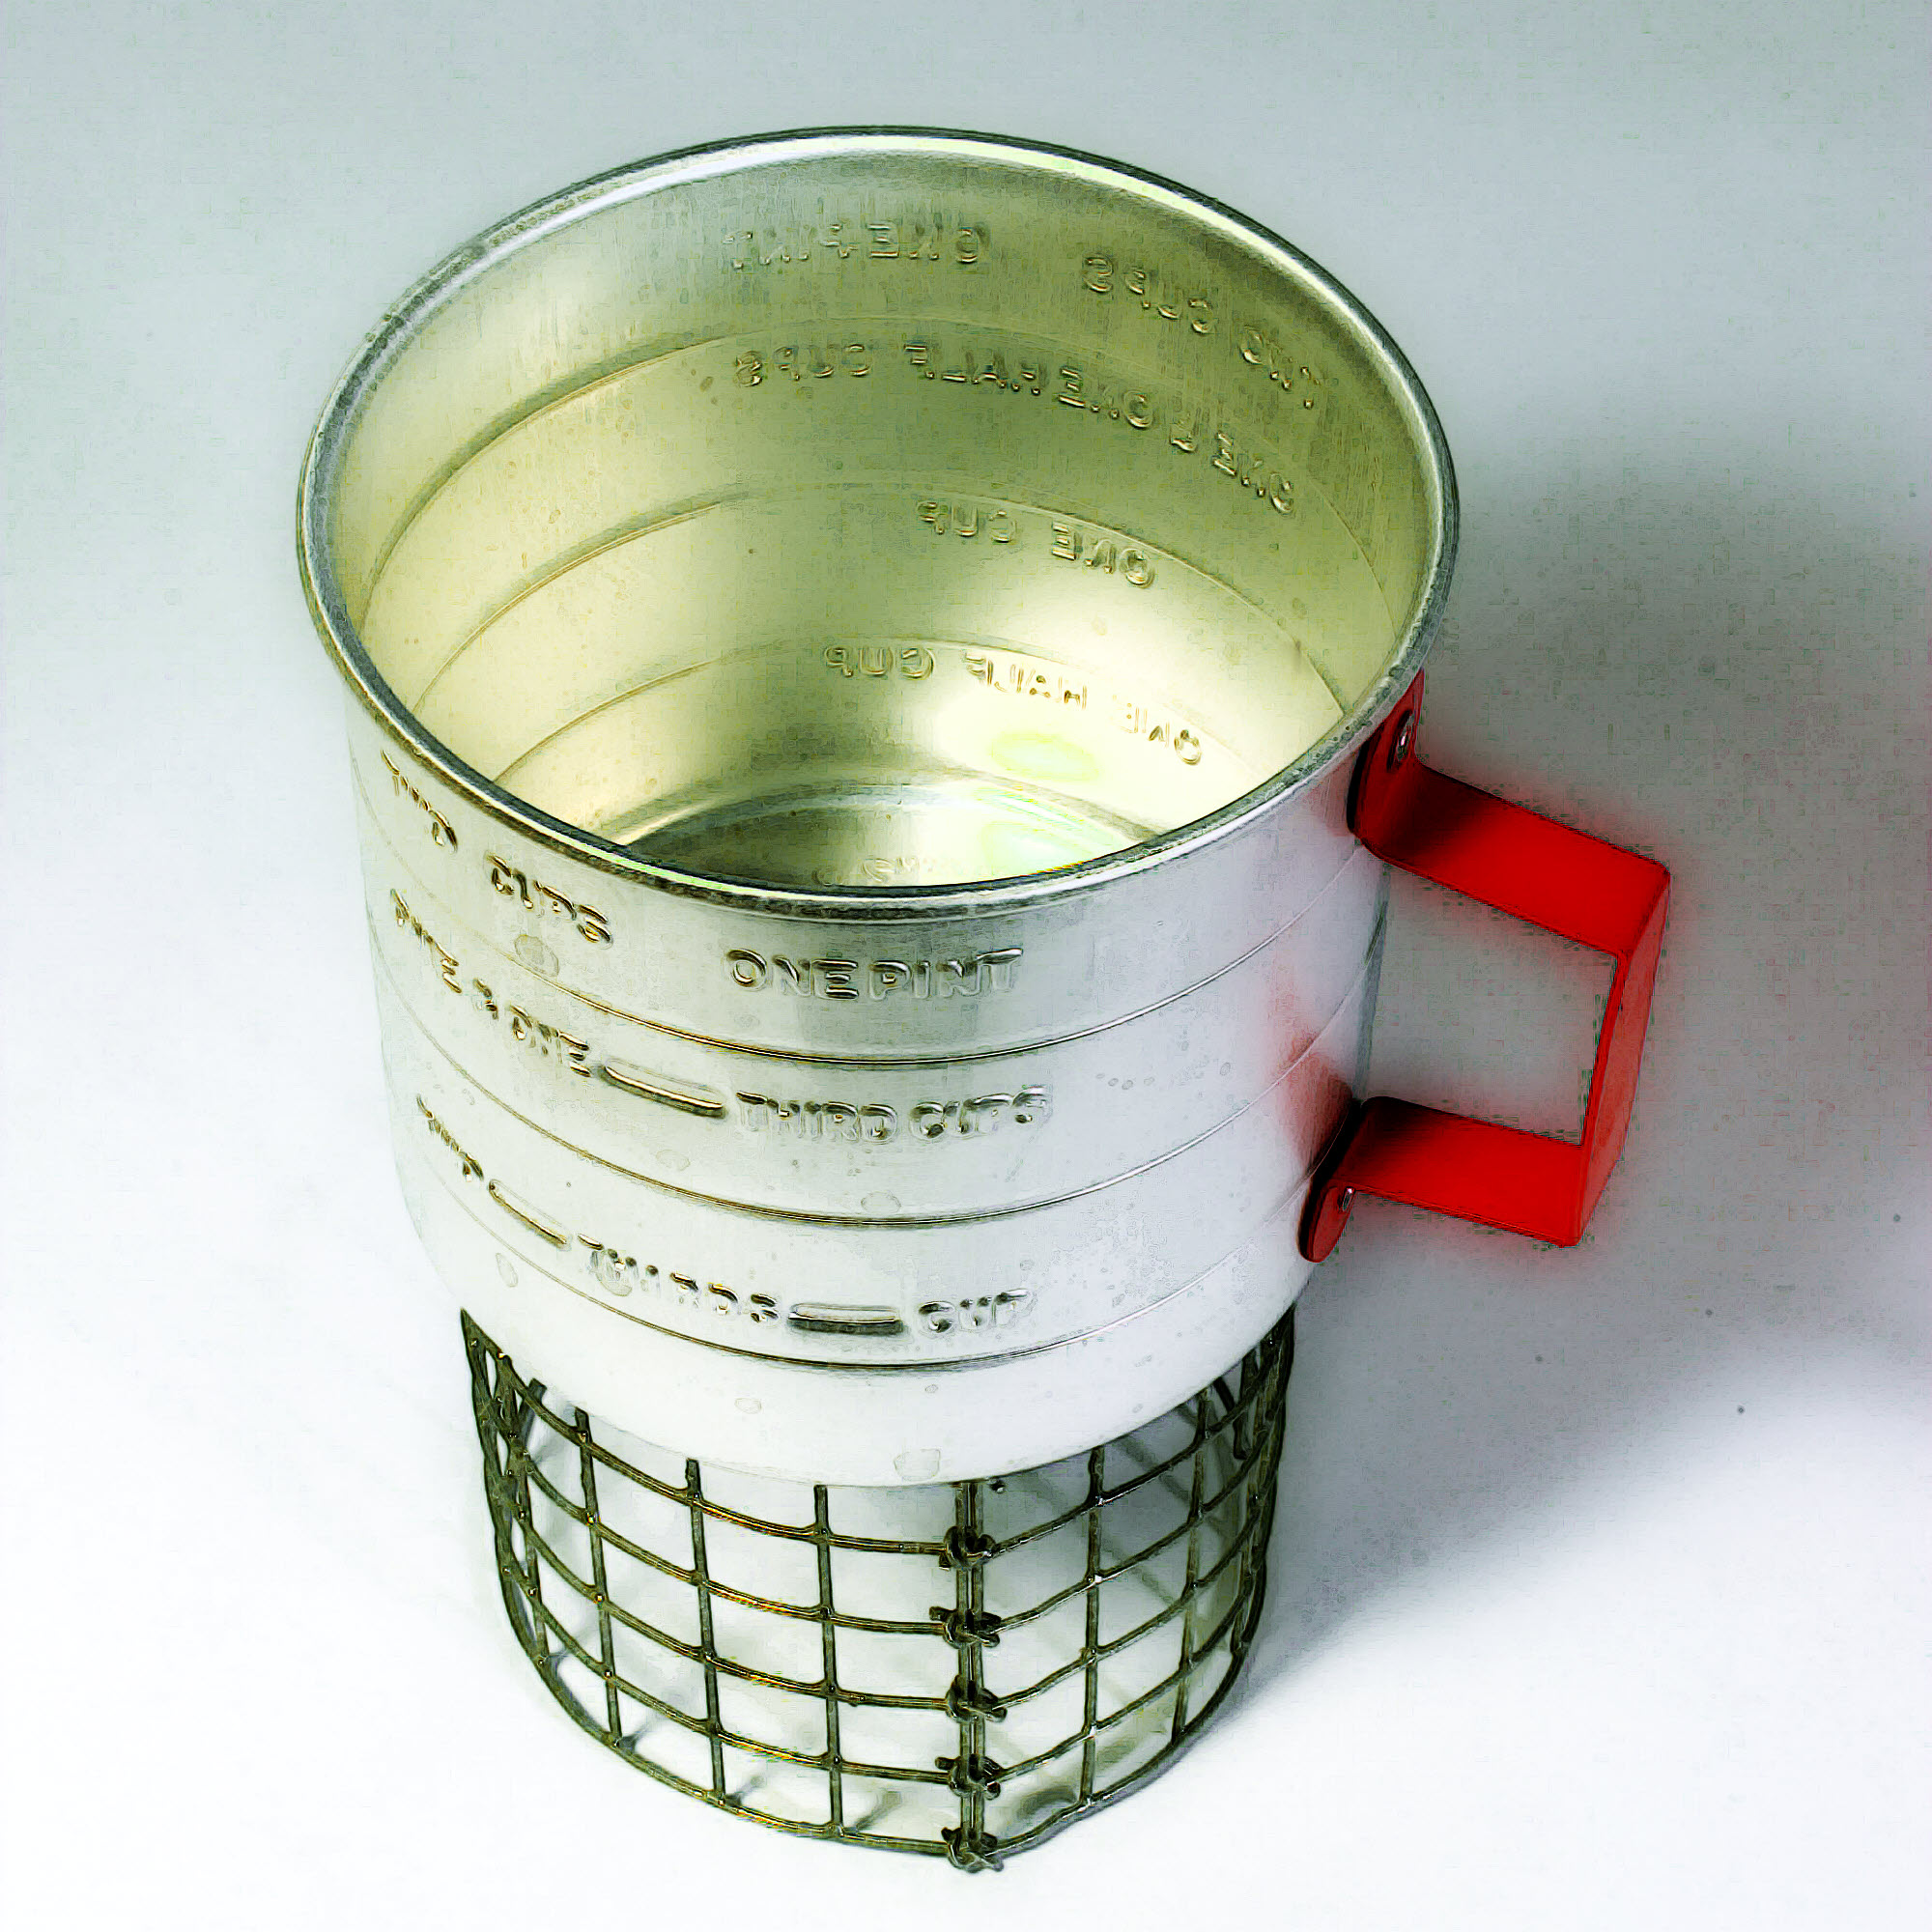
Sixteen ounce cup/pot on pot stand. The little nubs on the hardware cloth grip both the pot and the ground under it.