Monday, January 13, 2020

How To Cook On A Backpacking Stove

How To Cook On A Backpacking Stove

Tis an ill cook that cannot lick his own fingers. — William Shakespeare

A near tragedy: the first week out on the expedition someone lost the bottle opener, and for the rest of the trip we had to subsist on food and water. — W.C. Fields

Finally!  We’re!  Getting!  Some!  Where!  Here’s the basic level of stuff you need: a stove, a pot support, a pot, and a wind screen.  I also add a metal reflector to go under the stove, and a lid for the pot.  Confession time: my pot isn’t really a pot and doesn’t come with a lid.

Pots

My usual pot is a 16-ounce aluminum measuring cup, once available from an outfit called “Gooseberry Patch”. It was priced at $5.95. As far as I’m concerned these are just about ideal. The cups I have are fat, short, stable cylinders with a handle on one side, weigh 1.9 ounces (54 g), and are pretty darn small, cheap, durable, and also are so easy to operate that I can even use my spare hand to scratch with and not get into serious trouble.

This arrangement has only two problems as I see it: (1) there is no lid to my pot, and (2) the handle sticks out, sorta, and doesn’t fold. For a lid, I use a piece of aluminum foil, and just swear at the handle every now and then. Mostly, we get along just fine. So far the pot has never sworn back at me. It’s too good for that. I am so ashamed of myself.

The next non-essential item that’s essential for me is a cozy of some kind. I carry my cook kit inside this, and use it to hold cooked food (inside a plastic bag) before eating it. The cozy is made of a “foil-bubble-foil” material (aluminized bubble-wrap). The stuff I have goes under the “Reflectix” brand and is available at building supply stores. You can cut it with a scissors. With heavy aluminum foil on each side and a middle layer of bubble wrap, it does a great job, and it’s stiff enough to make a nice container to carry your cook kit in. With a scissors and a little duct tape you can make any size and shape you want.
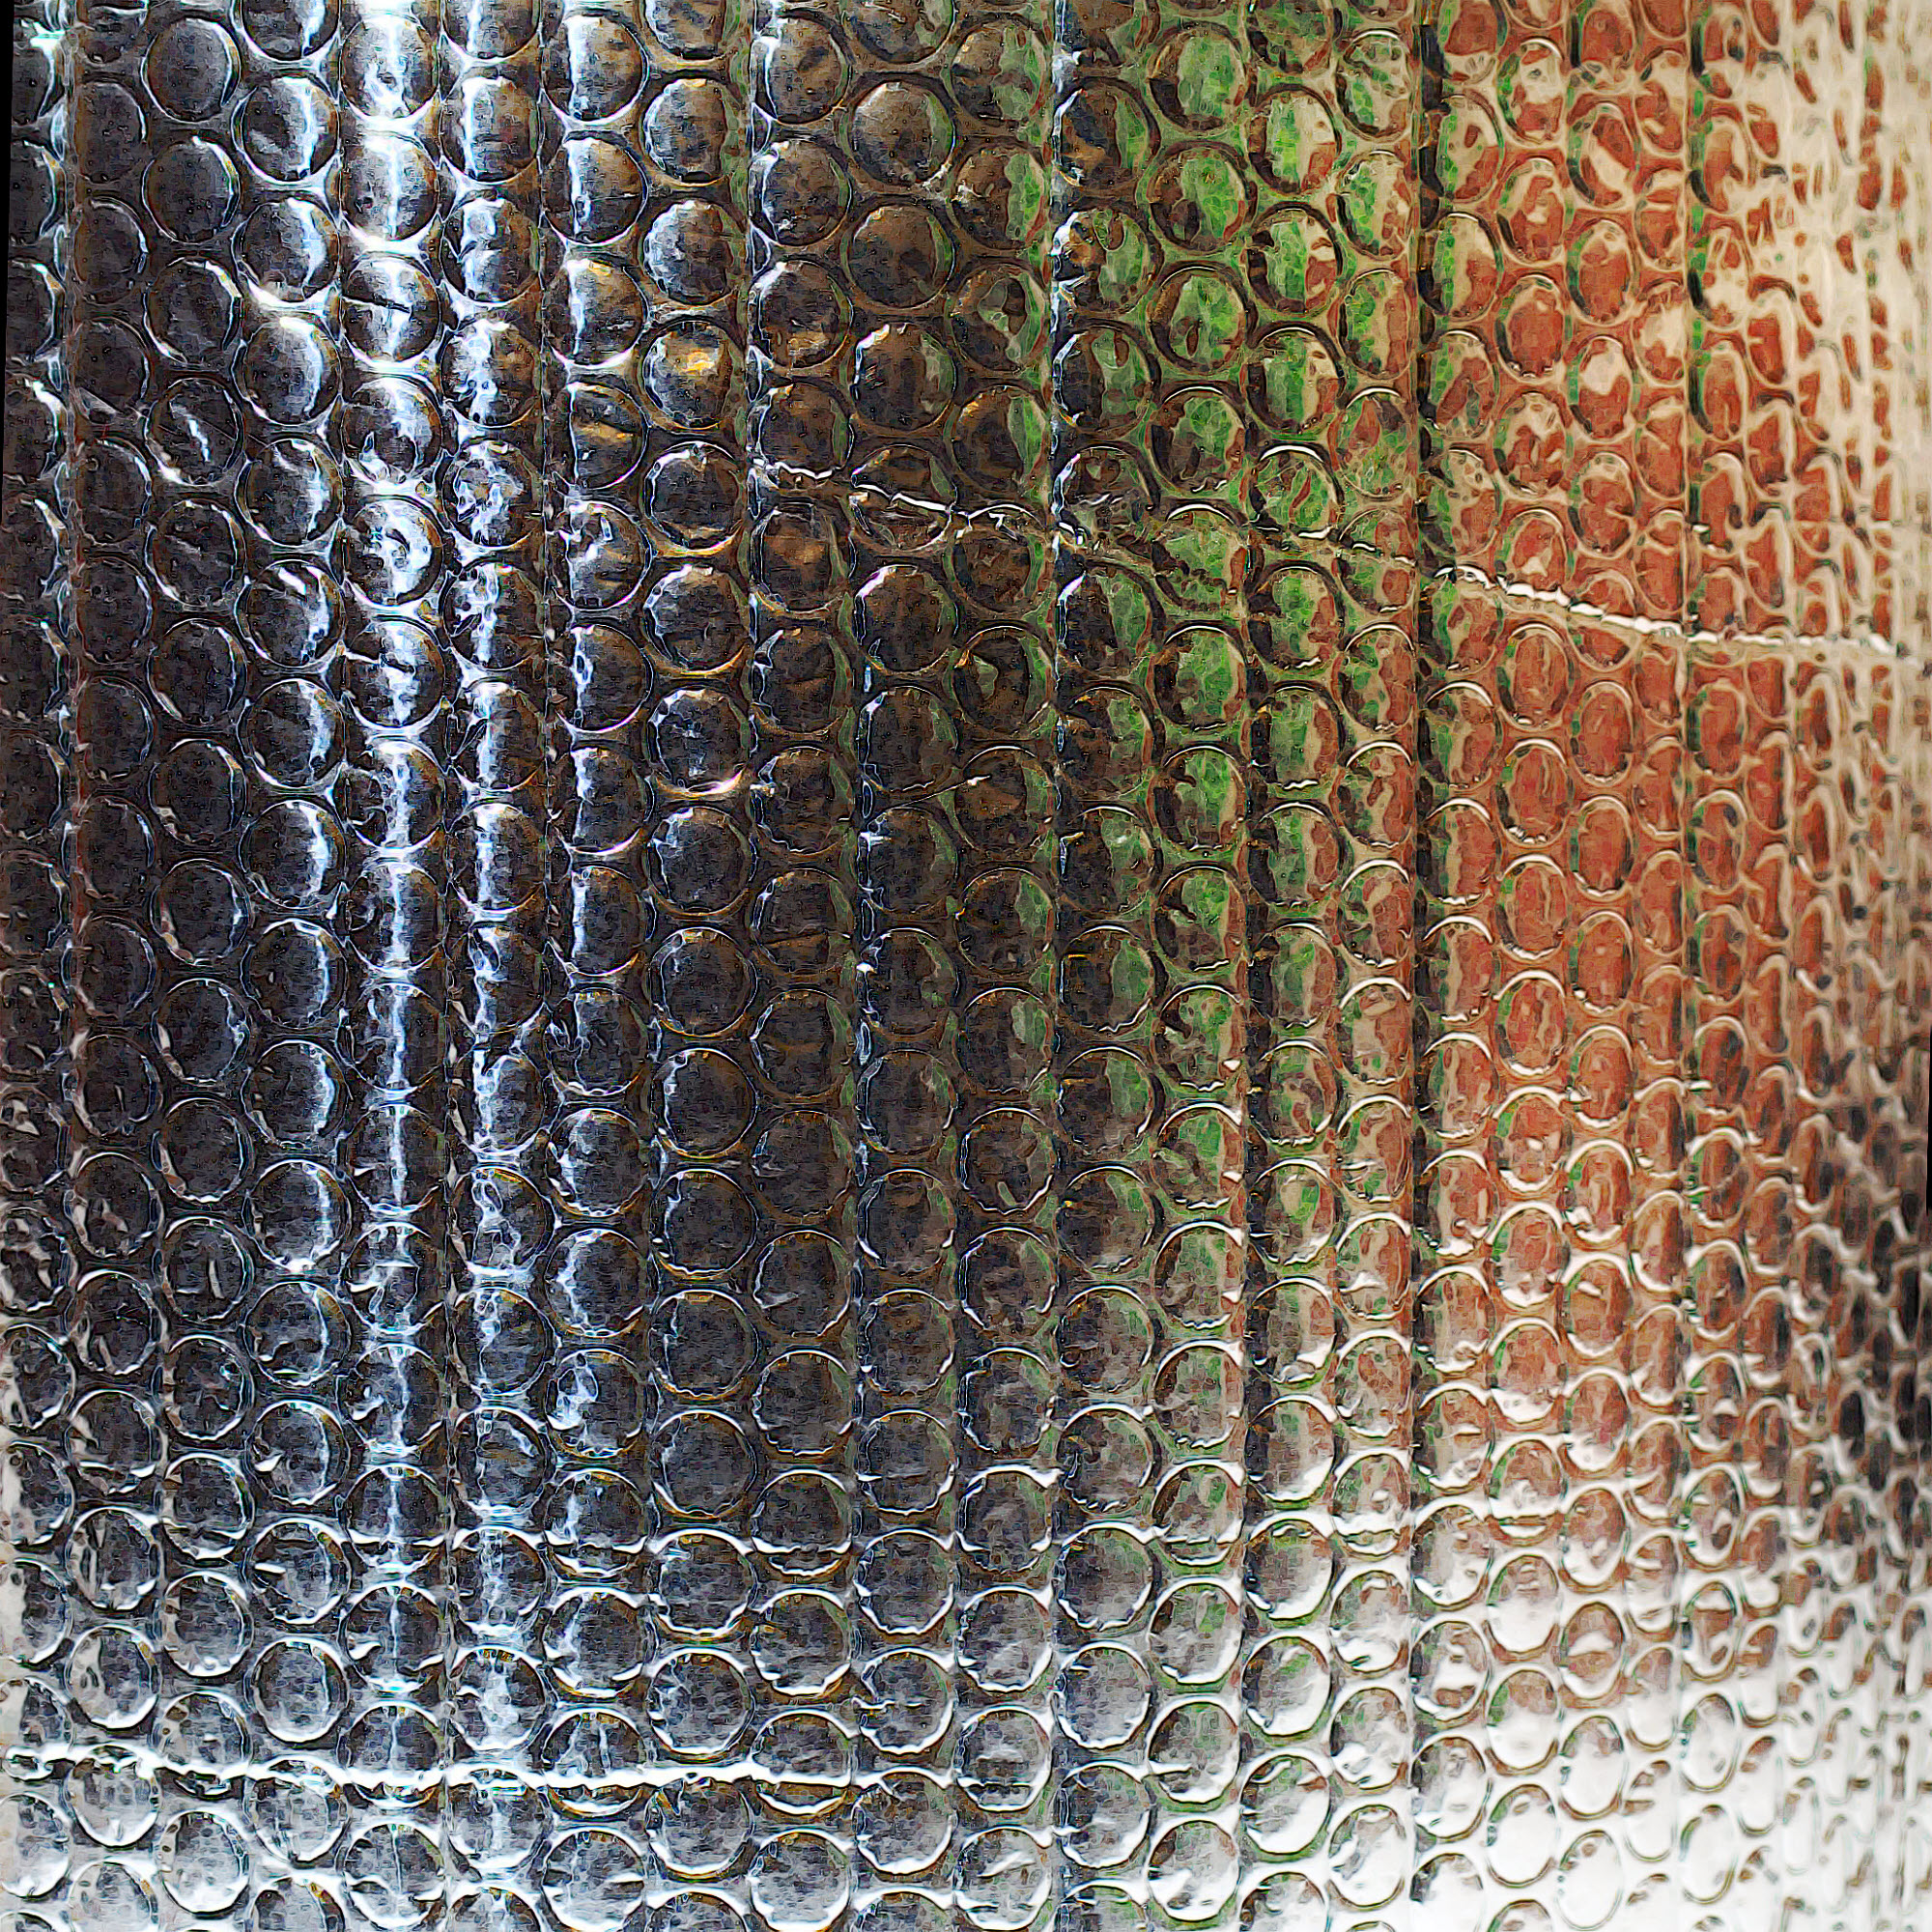
Reflectix

My wind screen is made from two or three layers of regular household aluminum foil. I pull off enough to form into a cylinder around my pot while it’s on the stove. (Fold over the two free ends and staple them together and you have a hollow cylinder.) The width of the aluminum foil is the vertical height of the wind screen and it’s just about right for my low-profile setup. If the inner sides of the screen stay away from the flame, it works OK. If the flame touches the foil, it gets brittle and crumbles. Therefore I makes ’em big, using plenty-o-foil. Weighs less than an ounce (28g).

I keep the wind screen folded up and either wrapped around the outside of the cooking pot (when using my 16-ounce/0.5L cup) or tucked inside if using a larger pot. That’s one nice thing about the foil: you can fold it or roll it up. With care one foil wind screen can last at least two weeks, even if used twice a day. I’ve done it.

The wind screen forms an open cylinder. One end sits on the ground and I pucker the other end so it’s almost closed, resembling a stuff sack with its drawstring pulled tight. This leaves a little hole at the top for the stove exhaust to get out, but protects the stove and pot from cold air and wind.

I take care to lift the bottom edge of the wind screen about a half inch (13mm) from the ground so the stove can get enough oxygen, and if the weather is a little too breezy, I put a small stone or two on top of the wind screen to keep it in place.

These days there are lots of options for lightweight cook sets. You really don’t need much of anything other than a metal container to heat water in. MSR, Olicamp, Evernew, Snow Peak and others make an amazing collection of gem-like titanium pots. Expect to pay $25 to $80 or more, depending on your needs. Or go cheep-cheep, and cheap out.

Wal-Mart, our beloved all-American, impersonal mega-institution, used to sell a generous-sized aluminum pot-like thingy (my best guess is 40 ounces or 1.2 L). They called it a “Grease Pot”, and I guess it’s normally bought by people who cook a lot of fatty meat, day after day, and can’t eat all the grease at once, but just can’t bear to throw the stuff away either.
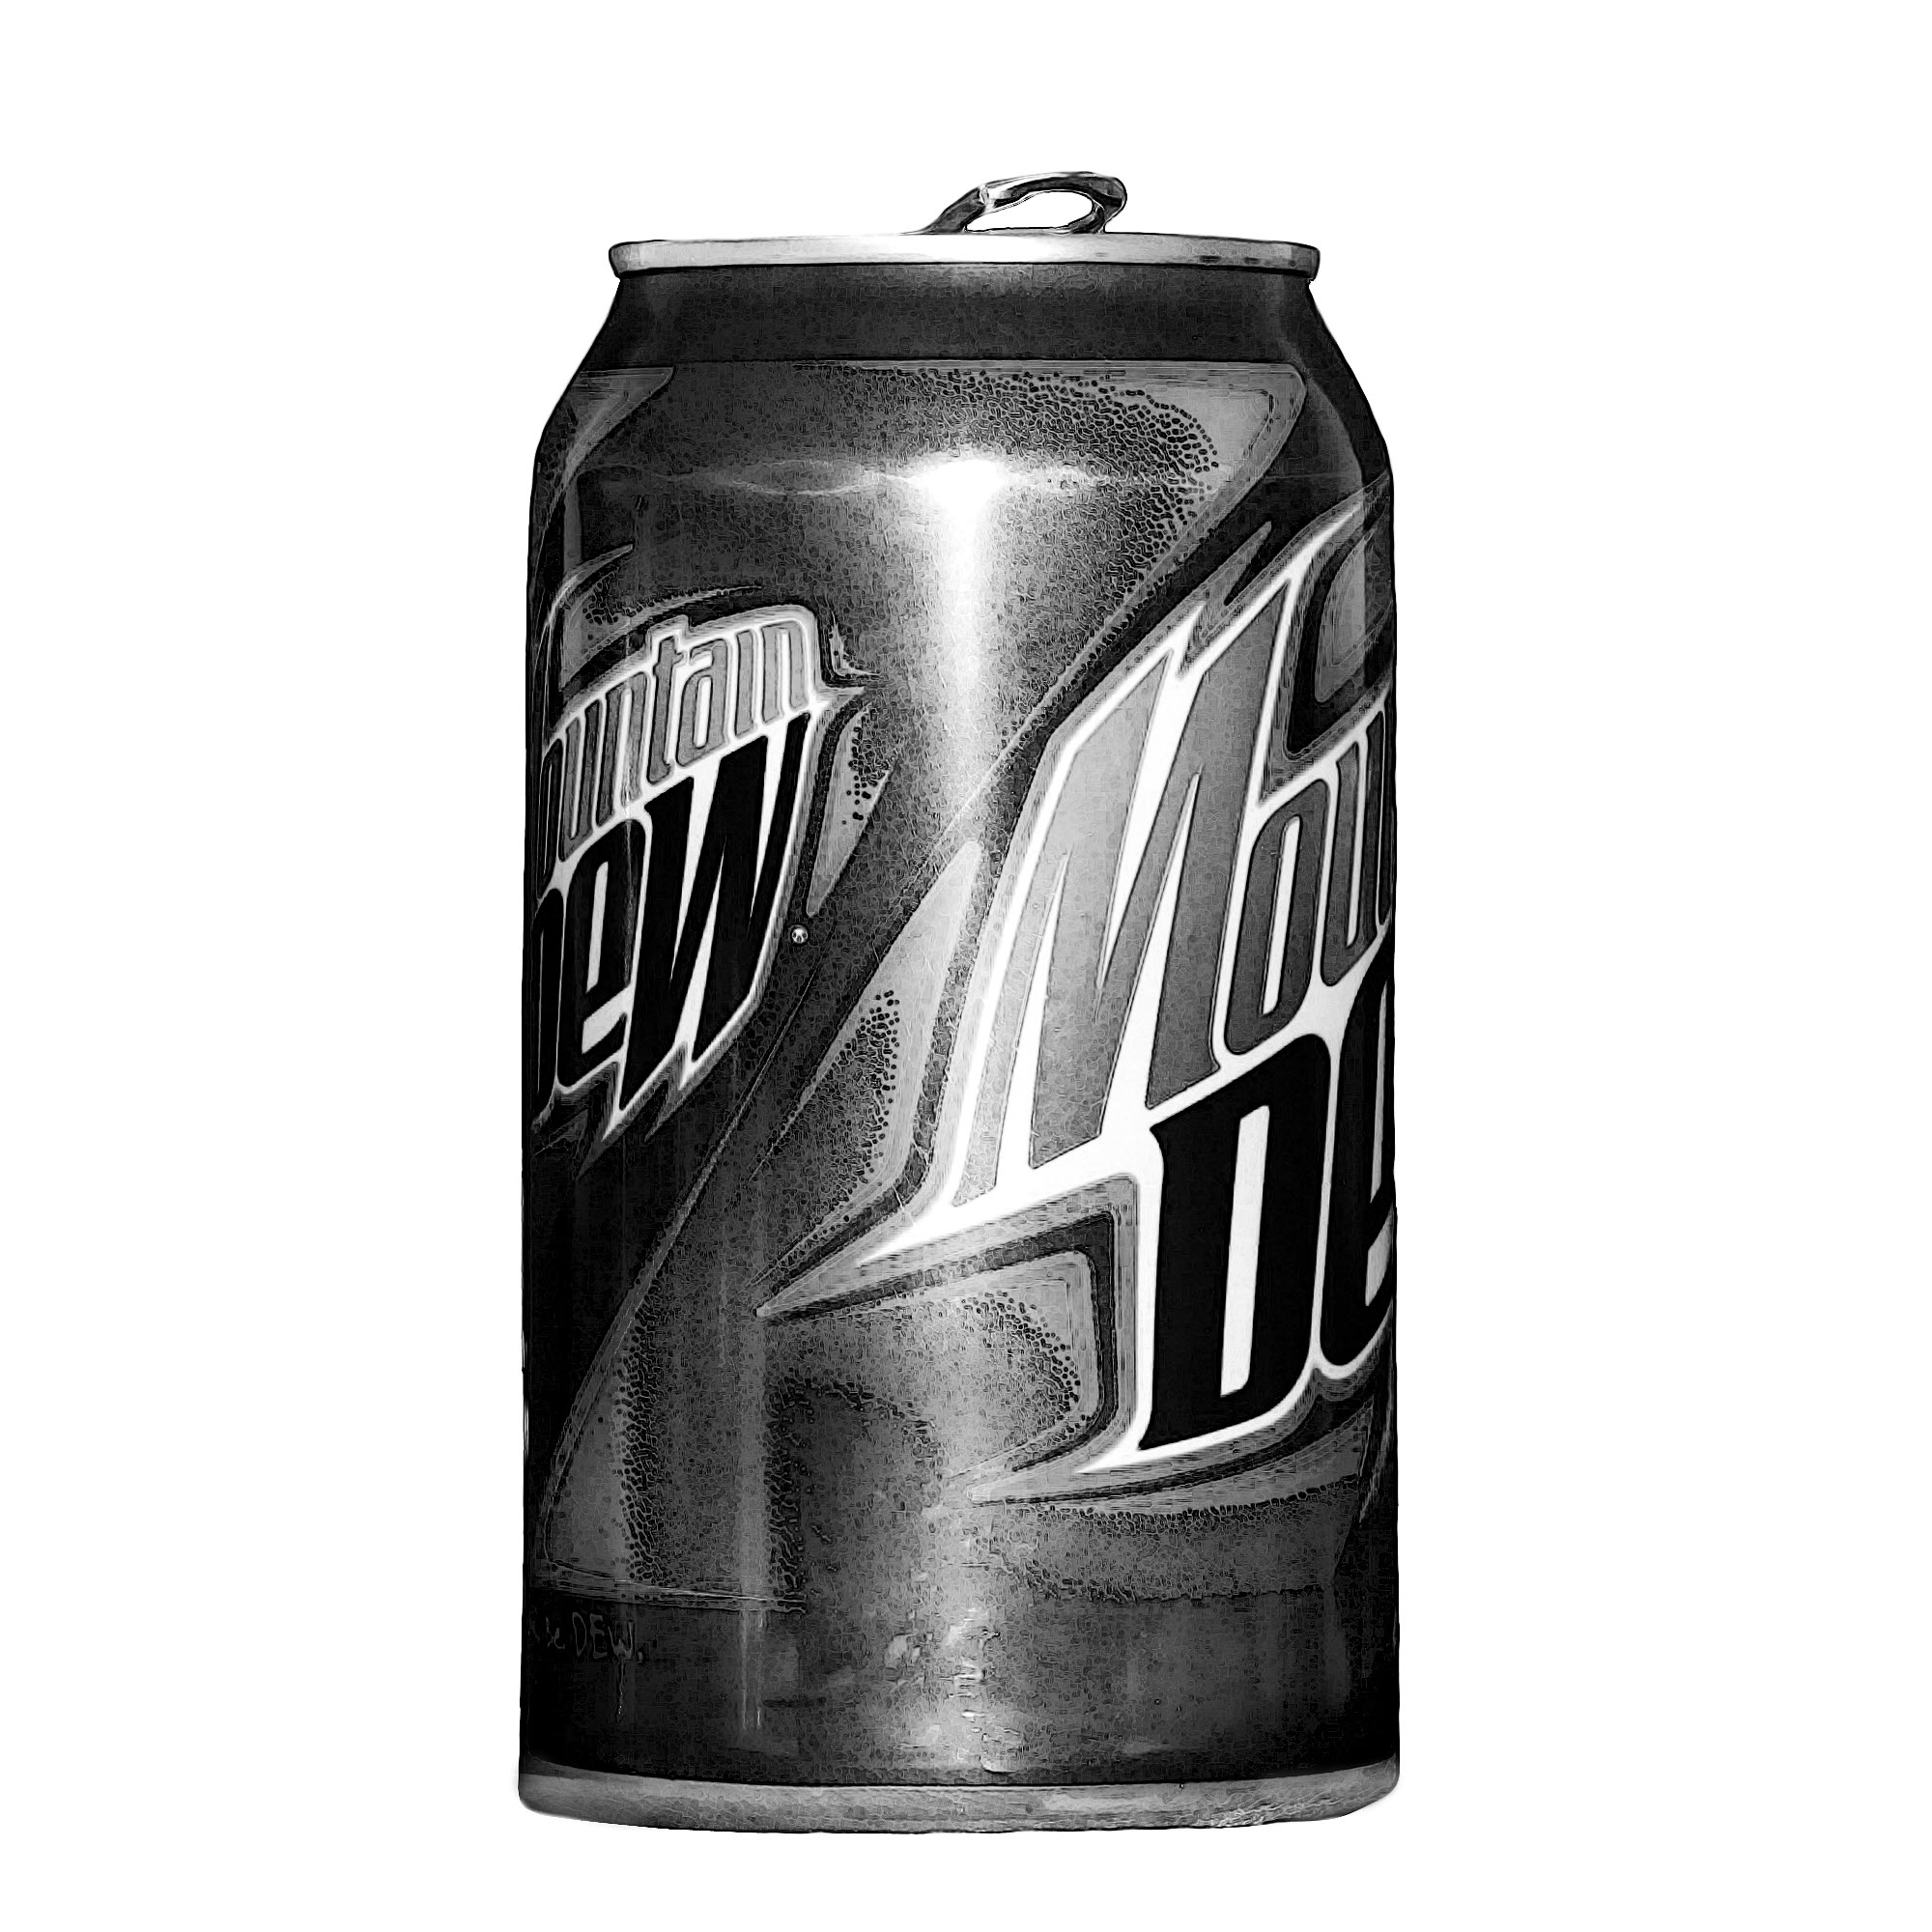
Aluminum can

You could buy one (the pot, not the grease), throw out the included strainer and the plastic knob on top, and you had a sort of pot. The last price I saw was $5.47, down from the stratospheric $6.97 I paid three years earlier. But not every good deal lasts forever. This item seems to have disappeared from the product lineup (they’re going upscale now), so check around and see if there’s still something similar, somewhere.

Use your gloves as potholders. Don’t actually cook food either. Just heat water. This keeps things clean (keeps any pot clean), and avoids dealing with a super-thin pot that easily carbonizes its contents.

If this option is too easy for you, then sniff around a low-end store somewhere, or a GoodWill, and look for cheap aluminum cookware. A company called “Mirro” is the champion. You might not want to buy a full set to show off in your kitchen but it’s just right for the trail. Cheap, light, small and simple. You may even find something with a lid. Take a look at the smallest coffee pots — after all, you’re just heating water, right?

Here’s how I carry my stove and cook set: Put the stove, under-stove reflector, pot support, and matches or lighter inside the pot. I carry a box of strike-on-box matches (usually two boxes worth of matches in one box), and protect them with a sandwich-size ziplock bag.

If the pot is big enough, stuff in the wind screen, which should go in first, curled around the inside wall of the pot. You can carefully fold and flatten this screen, into a thin band. When you’re done you’ll have a sort of flat strip about two or three inches wide (50 - 75mm) and as long as your roll of aluminum foil was wide. When using my 16-ounce measuring cup, I wrap it around the outside, since the cup is way too small to hold the wind screen and the stove and so on.

When done with all this folding and stuffing, put the whole thing inside your pot cozy, and then inside a gallon-size ziplock bag. The bag keeps everything together, keeps dust, dirt, bugs and twigs out, and protects your pack from absorbing food odors. It also keeps food odors in, so you aren’t trailing a scent stream behind your blind side as you walk along.

Utensils

I munch a lot of mooshy stuff, cooked in a ziplock bag, and used to eat out of the bag using a spoon. One day the spoon broke. Oh, noes!

After sitting down for a while to decide if swearing and waving my arms around would really help, I decided that it wouldn’t, so I made double sure that the bag of warm, cooked potatoes was tightly sealed, rolled over that end a turn or two to be extra double sure sure, held it tightly, and tore one corner off the bottom of the bag with my teeth. Then I squeezed the potatoes out like squirting toothpaste from a tube, into my mouth. Guess what? Works great, and now I never carry a spoon.

Now I don’t have to keep track of a spoon, replace one that breaks, or worry about whether licking it off after each meal is really the same as washing it.

Fueling

Let’s stick with alcohol stoves here. We’ll mention wood stoves later on.

To fuel an alcohol stove, first you have to carry fuel. I use a Platypus brand half-liter bottle. My old-style “Li’l Nipper” bottles weigh 0.7 ounces (20 g) empty. Newer bottles of the same capacity are probably close. These are small enough to be handy, but hold enough for several days, and if you squeeze out the excess air you don’t find them expanding to the danger point if you gain a lot of altitude. With hard-sided bottles you can’t remove the air unless you fill them to the top, or carry them nice and flat inside a pack pocket. And with the Platypus bottles, you can easily bring two for longer trips, or to split your fuel into two packages so you won’t be totally out of luck if something happens to one bottle.

Back to our story.

The cap on all Platypus bottles holds 0.25 ounces (7 ml) of fuel, so it makes a good measure. Usually, for 16 ounces of tea, using treated water (so it doesn’t have to be boiled), about 1.25 to 1.3 caps full will do the trick, bringing 12 ounces or so of water up to just short of boiling temperature. After the tea has steeped I can add cold water to get it down to drinking temperature, and have at it. Instant coffee would be easier — you wouldn’t need to get the water so hot, so you could use less fuel.

To fill the stove, pour fuel from the bottle into the cap, being careful not to spill, then with equal care pour it into the stove. Put the cap back onto the fuel bottle and squeeze the air out before tightening down the cap. This prevents pressure buildup in the bottle (and possible leakage) when you gain a lot of altitude.

If you set the fuel bottle down while you’re filling the stove, you stand an excellent chance of having it fall over and spilling all your fuel, so watch out.

I tried a push-pull type cap for the fuel bottle, but mysteriously kept losing large amounts of fuel, even while being careful to carry the bottle absolutely upright in the pack. The push-pull cap is one that telescopes open when you pull on it, and pops closed when you push on it — no screwing off and on again. It was just loose enough to let the alcohol vaporize and leak out of the bottle. This was not at all funny when I got halfway through a trip and ran out of fuel, so expect the same results if you go this route.

Priming And Lighting

There are two kinds of people: bigots, and good, reasonable folk who agree with me.

Likewise, you can say that there are two kinds of stove: those that need priming and those that don’t. I don’t like to prime a stove. The alcohol stoves that don’t need it are non-pressurized. They range from a simple cup to fancy and esoteric constructs of baffles, conduits, air holes, and multiple walls. Non-pressurized stoves have the fuel open to the air, so you can stick a match in there and light it. We’ll see more on these topics in the section on making stoves.

Conversely, pressurized stoves have to be sealed up while they’re burning, so you can’t just light them right off. You have to fill the stove, seal it up tight, prime it by dumping some fuel somewhere, light that, let it burn, AND THEN light the stove.

You get to choose your own preferences, but for me, I like to keep it really simple, and use a non-pressurized, non-priming stove.

These stoves are really easy to use. Just add fuel and light. If the weather is cold (like under 40 degrees F/22 C), you may have to stick the match almost into the fuel to get it going. Using a cigarette lighter with cold fuel is a lot harder than using a match, so that’s why I prefer matches, though I always carry a lighter as a backup. Using a fiberglass wick reduces the cold weather problems to almost zero.

To light a cold stove using a cigarette lighter, you have to flick the lighter on, then turn it so the flame is pointing down, and then sort of stick the flame into the fuel until it catches. Well, guess what? The flame doesn’t like to burn downhill. It always curves back up again and gnaws on my fingers. Ow! I can’t take much of that, so I use matches.

Snuffing And Storing

Some alcohol stoves allow differing degrees of simmering. If you get into that end of things, you’ll eventually end up with some excess fuel left in the stove. The Swedish Trangia commercial stove has both a simmering option and a screw-on top that allows you to keep unused fuel right in the stove.

Home-made stoves have no screw tops to keep unused fuel inside them, so they need to be emptied of excess fuel. This can be messy. You’re guaranteed to get most of the fuel spilled on your hands, over the sides of your fuel bottle, or on the ground unless you go to the trouble of carrying a funnel. More things to keep track of, and more fuss, and even a funnel won’t really solve the whole problem.

The Trangia stove is pretty good in this regard, with its fancy screw-on lid with O-ring and all, but the stove alone weighs three ounces (85g), so it’s outside our arbitrary limit for ultralight stoves, but it might suit you nevertheless. REI (Recreational Equipment, Inc.) sold me a complete lightweight Trangia outfit with stove, pot support, pot and lid, and pot lifter for about $30. Total weight, just under 12 ounces (340g). This is the alcohol-burning outfit I started with, before eventually deciding to make my own.

Staying really simple, you can just heat water for tea, coffee, cocoa or whatever else excites you as a hot drink, and heat water for all your cooking. If you do that, and don’t simmer or cook in the pot, you can keep things clean. Learn to measure out the right amount of fuel, dump it into the stove, light it, put on the wind screen, and come back when the fuel has burned out. Forget about fussing with simmer rings and draining the stove. And about washing pots.

But these ideas are only a guide. You yourself have to decide what’s right for you.

Exercises

  1. If you haven’t cooked outdoors before, learn how before your first backpacking trip. Try cooking in a local park (yes,one that allows it). Work out your technique before you commit to a real backpacking trip.
  2. Start a blog. Seventy-five thousand people a day do this, so why not you? I mean, c’mon! You’ll eventually find something to write about.
  3. Remember, today is the first day of the rest of your life. This is especially true if you’re in the witness protection program. Don’t try to contact me. Too dangerous for both of us. Go back and delete that blog thing too. Right now.
  4. Make your first trip to Wal-Mart. It’s a little like going to another planet. Keep your guard up, or let it down, as appropriate.
Wednesday, January 8, 2020

Story Break: Cleaning Your Stove

Story Break

Cleaning Your Stove

One of the simple beauties of a lightweight alcohol stove is that you never need to clean the little sucker. Or adjust anything. The alcohol stove is basically a little cup with or without hollow walls.

It might be partially pressurized (if you want to get fancy), but probably not, and it doesn’t matter anyway. Alcohol burns cleanly, these stoves have no moving parts for the most part, and the one or two that do have moving parts don’t have any that need cleaning or adjustment.

That’s about it, unless you get a pinch of dirt or a few pine needles into the cup of your stove. If you do and the stove isn’t burning at the time (i.e. it’s “out” as the experts say), turn it upside down and tap it a couple of times, and then blow into it. Bingo. You are now an expert at the art of cleaning stoves. If you would like a certificate to show off to your friends, please send a money order for $29.95, and be prepared to wait six weeks. Add $10 if you would like that framed.

A clean stove is a happy stove. You can tell if your stove is happy by filling it with fuel, lighting it, and waiting a couple of minutes. After it gets hot the alcohol in the stove will begin to boil. Get down on your hands and knees and turn your ear toward it. If you are an old guy, then try to remember which of your ears is the good one, and turn that one toward it.

If you do this right you will be able to hear the stove singing quietly to itself as the fuel boils inside it. This is the sound of a happy stove. A happy stove is a fulfilled stove, and a happy, fulfilled stove will be ever so glad to help you out any old time at all. With the cooking, for example, each and every day.

If you do this wrong however, you will set your hair on fire and have to run around screaming until someone puts you out. This is not necessarily a sign that your stove harbors any ill will toward you. It could just mean that your stove is a little too eager to share its joy and has gotten a tad out of bounds, without actually meaning to. Or it may simply mean that you are a clumsy idiot.

You might notice some pain after experiencing this effect. It is one of those “growing pains” that you thought were just stories that your parents made up. A growing pain is in fact a feeling that accompanies an increase in intelligence, and is often associated with the concepts of “trial and error” and “learning from experience”. Don’t worry about it at all. It is completely normal. Enjoy it.

If you do decide that the stove is out to get you, perhaps after a counseling session or two to confirm your suspicions, remember that you can always smash the little wart flat into the ground by stomping on it any time you want. You really are that much bigger and stronger, and always will be. Of course if you do this you will have to make another stove, so in most cases it’s just better to try getting along and staying friends, you and your stove.

Group Backpacking Issues

Group Backpacking Issues

One man alone can be pretty dumb sometimes, but for real bona fide stupidity there ain’t nothing can beat teamwork — Mark Twain

OK, then, so you finally found some friends. Then what? Well, a small, light stove is still a small, light stove. But you may want to practice groupitude and cook together on one stove, in one pot, at one time.

Generally, this is going to be difficult for the average shirtpocket-sized alcohol or Esbit stove to handle, or even for a small wood-burner. If we stick to our definition of an ultralight stove weighing no more than half an ounce (14g), or of a wood-burner coming in at no more than five ounces (142g), we’re kind of restricted. But one way to look at these numbers is “by person”. Remember now, you’re not alone any more. Start with a two-ounce stove, to be used by four people, and divide. Hmmm. Two divided by four is oh, let’s say half an ounce, which puts us back into the middle of the same ballpark.

Since a heavier stove of a given design uses the same materials put together in the same way, then a heavier stove has to be a bigger one, and will be putting out more heat. The exception may be the solid-fuel-tablet stoves. I’ve experimented enough with fuel tabs to decide that I didn’t like them. They work fine for some people, but not for me. Probably my fault, but then so much is, these days.

Maybe I wasn’t meant for these things because many people do like them, and use them all the time, but they will definitely pose a larger problem for group meals, since with fuel tabs you don’t get a bigger stove with a bigger burner. Each each fuel tablet is its own burner.

Larger alcohol stoves are a little on the odd side of things, too, but they scale up pretty well. They’re even used in the Iditarod sled dog race (yes, this is the one in Alaska, the cold place) to melt water for the dogs and mushers, and to heat water for cooking. These are much bigger stoves though. I’ve seen one, and it’s about the size of a gallon paint can, made of tough enameled steel, and it takes up to a pint of alcohol at one filling. A serious BTU generator.

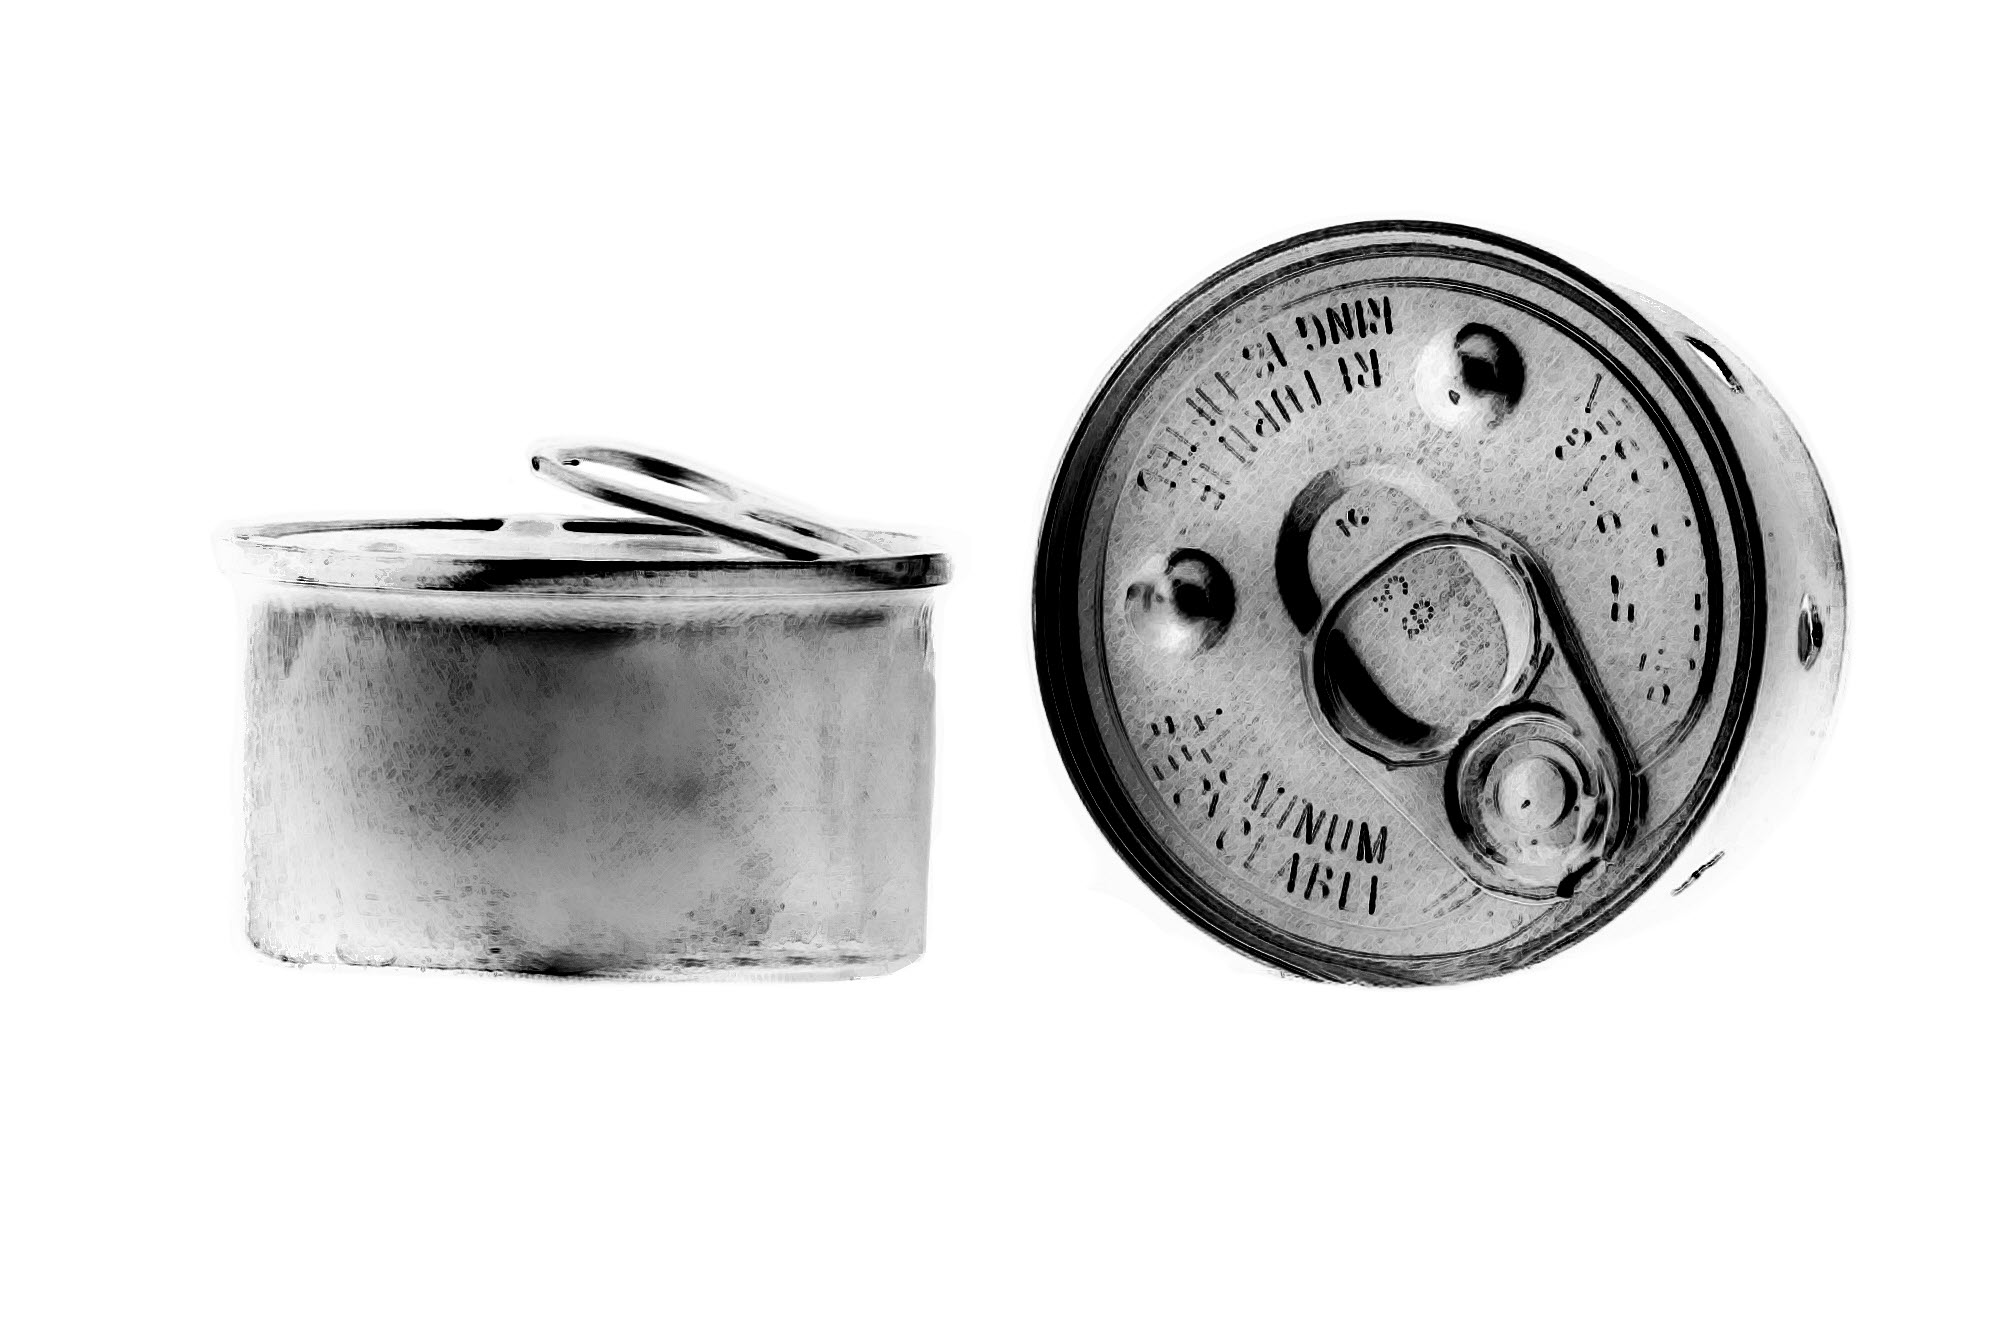
Instead of making a stove from a 12-ounce aluminum soda or beer can, or even a 5.5-ounce juice can (for those who tingle at the thought of jewel-like tiny things), you can make the same sort of stove from a 25-ounce can. See the big Foster’s or Heineken beer cans, or any other large-diameter container that suits you, and hack away.

Wood-burning stoves scale up too. Use a bigger stove that can handle more fuel and get a bigger flame. Cook for more people at one shot. Simple physics.

Small cans

What we’re getting at here is not that versions of ultralight stoves can be made to fit any circumstances, but that the concept can stretch if you want it to. Probably the practical limit is cooking for two or three people at a time, using a larger version of your shirt-pocket stove, and even that is a stretch.

As the group size gets bigger the requirements change, but so does the whole cooking landscape. If something fails, you have two, three, or even more heads to figure things out. If things go really bad and you lose the use of a stove entirely, you can depend on one another.

White gas and canister stoves have a bigger payoff in groups. They just put out more heat than any quarter-ounce alcohol stove can. Dinner for four may cook faster on a manufactured stove than a tiny and elegant home-made one. It becomes easier to manage fuel canisters if you know you’ll be draining one every four or five days while cooking for a group of four, versus using a sip of fuel on this trip and that, going solo, and never being quite sure when the dang thing is too low to depend on. It’s pretty easy to have a partner carry a backup fuel container for the group.

Then again, if each person in a group does their own cooking, the advantage snicks back a notch. Have more stoves, and they can just as well be smaller. Have an accident, lose one stove, and you still have two or three more in the group. You may have to wait in line to cook dinner, but you can still cook, and each person is still carrying only a small weight.

Pretty much up to you and your own sense of style, this one.

Exercises

  1. Practice being dumb for a while. Then practice being smart. Spend more time on the one you have less experience with, until you’re equally good at both. Then write up your experiences, and try to decide which one is better. If you have trouble doing this, then you need more practice at being smart. See if your friends can help. Try finding some friends.
  2. If you still can’t get any friends, then buy a sock puppet. You need someone to talk to, and sometimes these little guys can be just the ticket. Take your puppet to dinner and get to know each other. Ignore anyone who stares at you. This is your life, not theirs. My sock puppet and I can almost pass for identical twins now, but it did take practice.
  3. Remember, even if your sock puppet runs away, there’s still hope. Fake sanity and join a hiking club — they aren’t too discriminating. Over a period of years they may gradually come to trust you.

Saturday, December 21, 2019

Trail Snacks

Story Break

Trail Snacks

I don’t know what all this packbacking stuff is about. I never went outdoors much. The church picnic on the 4th of July was always about good enough for me, and I don’t see why it isn’t good enough for the rest of them but some people are like that, mostly the boys. They got to have their outdoor stuff and hunting and all. Now some girls do it too if you can believe that, but none of mine they wouldn’t. The church basement was good enough for me.

I guess I had a good life. My sister Esther and I are twins. I married Reiny and then Esther got ahold on his brother Rex and she married him. Our maiden name was Schmidt. We didn’t want to change it especially to something like Pudzer. What kind of a name is that? I had to laugh at him the first time I met him. I never would of thought. Reiny and Rex came from a big family but there was only the two of us in ours, Esther and me.

I heard them others talking once, Reiny’s family, talking about Reiny and Rex, calling them the Schmidt brothers going around by the nose because they married my sister and me and we shaped them into line. Well we had to, they weren’t quite right at first. I don’t know what’s wrong with them people sometimes. Inlaws. None of them is quite right, I can tell you that, but we got the men and we bent them straight. We made good men out of them. We keep them shaped up. They couldn’t do it without us. I don’t care what they say.

Overall I guess Reiny has been a good husband. He listens. Sometimes I make some food for him to take along when he goes out to do his stuff. It seems to do him good and I want to keep him for awhile yet. He works hard all day and when he goes out hiking he works at that too. You won’t catch me out there like that, not even, but he needs good food when he’s out doing that whatever so I send him off with a little something every now and then.

One of his favorites is gravy. It sticks. All-American food, like you can’t find anymore in this country if you know what I mean. It’s all changing but my family still eats good. Here’s a good gravy recipe. Don’t forget it. You can eat it with crackers on on bread, hot or cold, or right from the Tupperware.

Handy All-American Gravy

  • 1 cup beef fat
  • 1 cup pork sausage drippings or bacon drippings
  • 1 cup flour
  • 2 cups skim milk
  • salt and pepper to taste

Add salt and pepper to the fat and flour in a large skillet over medium high heat, stirring all the time. Continue stirring until brown. Reduce heat and add milk, stirring constantly. Stir until thickened. Add water as needed. Pretty good over just about anything except chocolate ice cream.

For snacks you can make this next stuff. I found it in a book for dogs, but I tried it on my husband and some kids, and they thought it was pretty good too. Anyway, now I make some extra for them too, every time around when I make treats for the dog. You can give them a little reward when they do good, just like the dog. Works for either one. I got them all trained now.

Apple Cinnamon Obedience Bits

  • 4 cups whole wheat flour
  • 1/2 cup cornmeal
  • 1 egg
  • 2 tablespoons vegetable oil
  • 1 teaspoon cinnamon
  • 1 small apple, grated
  • 1 1/3 cups water

Combine dry ingredients in a bowl. Grate apple and add, with water. Mix and make a dough. Turn out on a lightly floured surface and knead well. Roll out to 1/4 to 1/2-inch thick. Score dough horizontally and vertically to make a grid of 3/4-inch squares. Place the dough on a greased baking sheet and bake at 325 degrees F for 1 hour. Break apart for storage. Feed to husband or dog — they both like it.

This last one is a little bit special. I think I came up with it for hunting season one year. It makes you into a regular guy if you aren’t one already, and it’s kind of spicy too. All those men like the pepperoni sticks too. All of them.

Prune-Pepperoni Trail Bites

  • 12 dried pitted prunes
  • 2 beef pepperoni sticks
  • 1/2 cup dark beer
  • 1/4 cup water
  • 12 slices bacon

Stuff each prune with a piece of pepperoni stick. Mix beer and water and pour over prunes in bowl. Let stand, stirring now and then, until prunes are plump, about 2 hours. Wrap bacon around prunes and pin with toothpicks.

Broil in electric oven about 4 inches from burner, turning once, until bacon crisps, 10 or 12 minutes. You can wrap each one separate and send them out with the boys for a quick snack on the trail or when they’re doing some kind of yard work or farm work or whatever.

Make sure they don’t eat too many though.

Solo Backpacking Issues

Solo Backpacking Issues

Solitude is dangerous to reason, without being favourable to virtue. Remember that the solitary mortal is certainly luxurious, probably superstitious, and possibly mad. — Samuel Johnson

So, you’re a loner then? Reminds me of my mother. Not her, exactly, but what she thought of me. Every time the news ran a story of another nice, quiet, law-abiding guy without a whole lot of friends who went nuts, took a gun to work, and murdered everyone, she said she thought of me.

If there’s time we can get back to mass murder a little later, but right now let’s think about some of the practical aspects of traveling solo.

For one thing, you have to carry everything yourself. You and you alone. You’re completely dependent on the integrity of your equipment and your skills to deal with any and all problems. Your pack may rip. You may spill fuel or food. You can fall and get hurt. You can get lost. Something big may bite you.

Then what?

Well, we always get back to the personal basics: smarts and experience. And equipment basics: weight, size, complexity, cost, mechanical reliability and repairability. And stove basics: heat output, durability, fuel availability, stability during use, toxicity of fuel, and general danger.

Traveling alone just means that you do it all. Cost might be an issue, but then again, if your life depends on something, you’ll buy the best you need, regardless of cost. For a solo hiker, weight, size, complexity and reliability become a lot more important.

Alcohol, solid fuel and wood stoves shine. You can’t get anything lighter or simpler, and if you make it yourself you can make a stove that’s at least as good as anything coming out of a factory.

When you’re out alone you need to be focused. You need a fumble-proof stove in the morning when you’re stiff and cold, an easy-to-use stove during the middle of the day when you just want a quick cup of something warm, and a hot stove in the evening while you’re settling in for the night. Because you’re carrying everything yourself, you need the lightest option available.

I counted all the items that I carry on a typical backpacking trip. There are about 55 of them. If I add just one ounce to each item (28g), my pack ends up weighing almost three and a half pounds (1.6kg) more. Add two ounces per item and it’s seven pounds (3.2kg). I can feel that. So can you. It doesn’t sound like that much until you heft it. I’ve gotten tuned in enough that I can feel the difference after filling a 25-ounce water bottle.

But go the other way. Cut your base pack weight down to 15 pounds, then cut an average of one ounce off everything, and your base weight is now down to 11 and a half pounds. That’s about a 23 percent difference. Do it again and you’re down to eight pounds. That’s about a 30 percent difference. The lighter you go the harder it is to shave off more weight, but the more dramatic the difference is, and the proportional change too, so after you start to lighten up, switching to a light stove and cook set can make a real difference in itself.

And when you’re 15 miles from the nearest road, halfway through your dream trip, all alone out there somewhere, you’ll have lots of strength and endurance in reserve. If something happens and you need to travel fast you can. You won’t be under a killer pack, groaning, leaning and stumbling with each and every step. You’ll be in charge.

Exercises

  1. Get some more friends. You’re not really that ugly. “Things in mirror are prettier than they appear,” as the saying goes, but of course you may be an exception, so get a second opinion if possible.
  2. Pick one of your new friends and have him or her climb onto your back. Then try to walk around. Yeah, right. Now you’re catching on. Humps become you.
  3. Make a list of everything you need to take backpacking with you, under any and all circumstances. Since you’ve already weighed it, you can write the weight next to each item. Keep this handy as a checklist for your trips. You’ll find that it’s now a lot harder to forget things you need to take. Once you do this, you can give up some of your memory by removing unneeded parts of your brain, for even bigger weight savings.
  4. Sure you’re going to die, but you need to do that every now and then to keep in shape. Don’t worry about it. Plan ahead, be smart, and you will delay that inevitable moment. Meanwhile you can relax. Breathe deeply. Everything will be OK. Use the time to scan overhead for incoming asteroids.

Wednesday, December 11, 2019

Story Break: Where’s The Esbit?

Story Break

Where’s The Esbit?

Lots of people use fuel tabs. They’re not all Esbit but that’s what people call them. I have to give it to them on the rock simple scale. Nothing simpler for outertainment than just sitting there and pounding rocks together. Good enough for some but not for me. Call me crazy.

Esbit stove

Makes my brain hurt just thinking about Esbit. I mean what could be better than a pocket full of sugar cubes and you light one whenever you need some heat? Some day somebody’s going to get it right but I haven’t quite seen it yet.

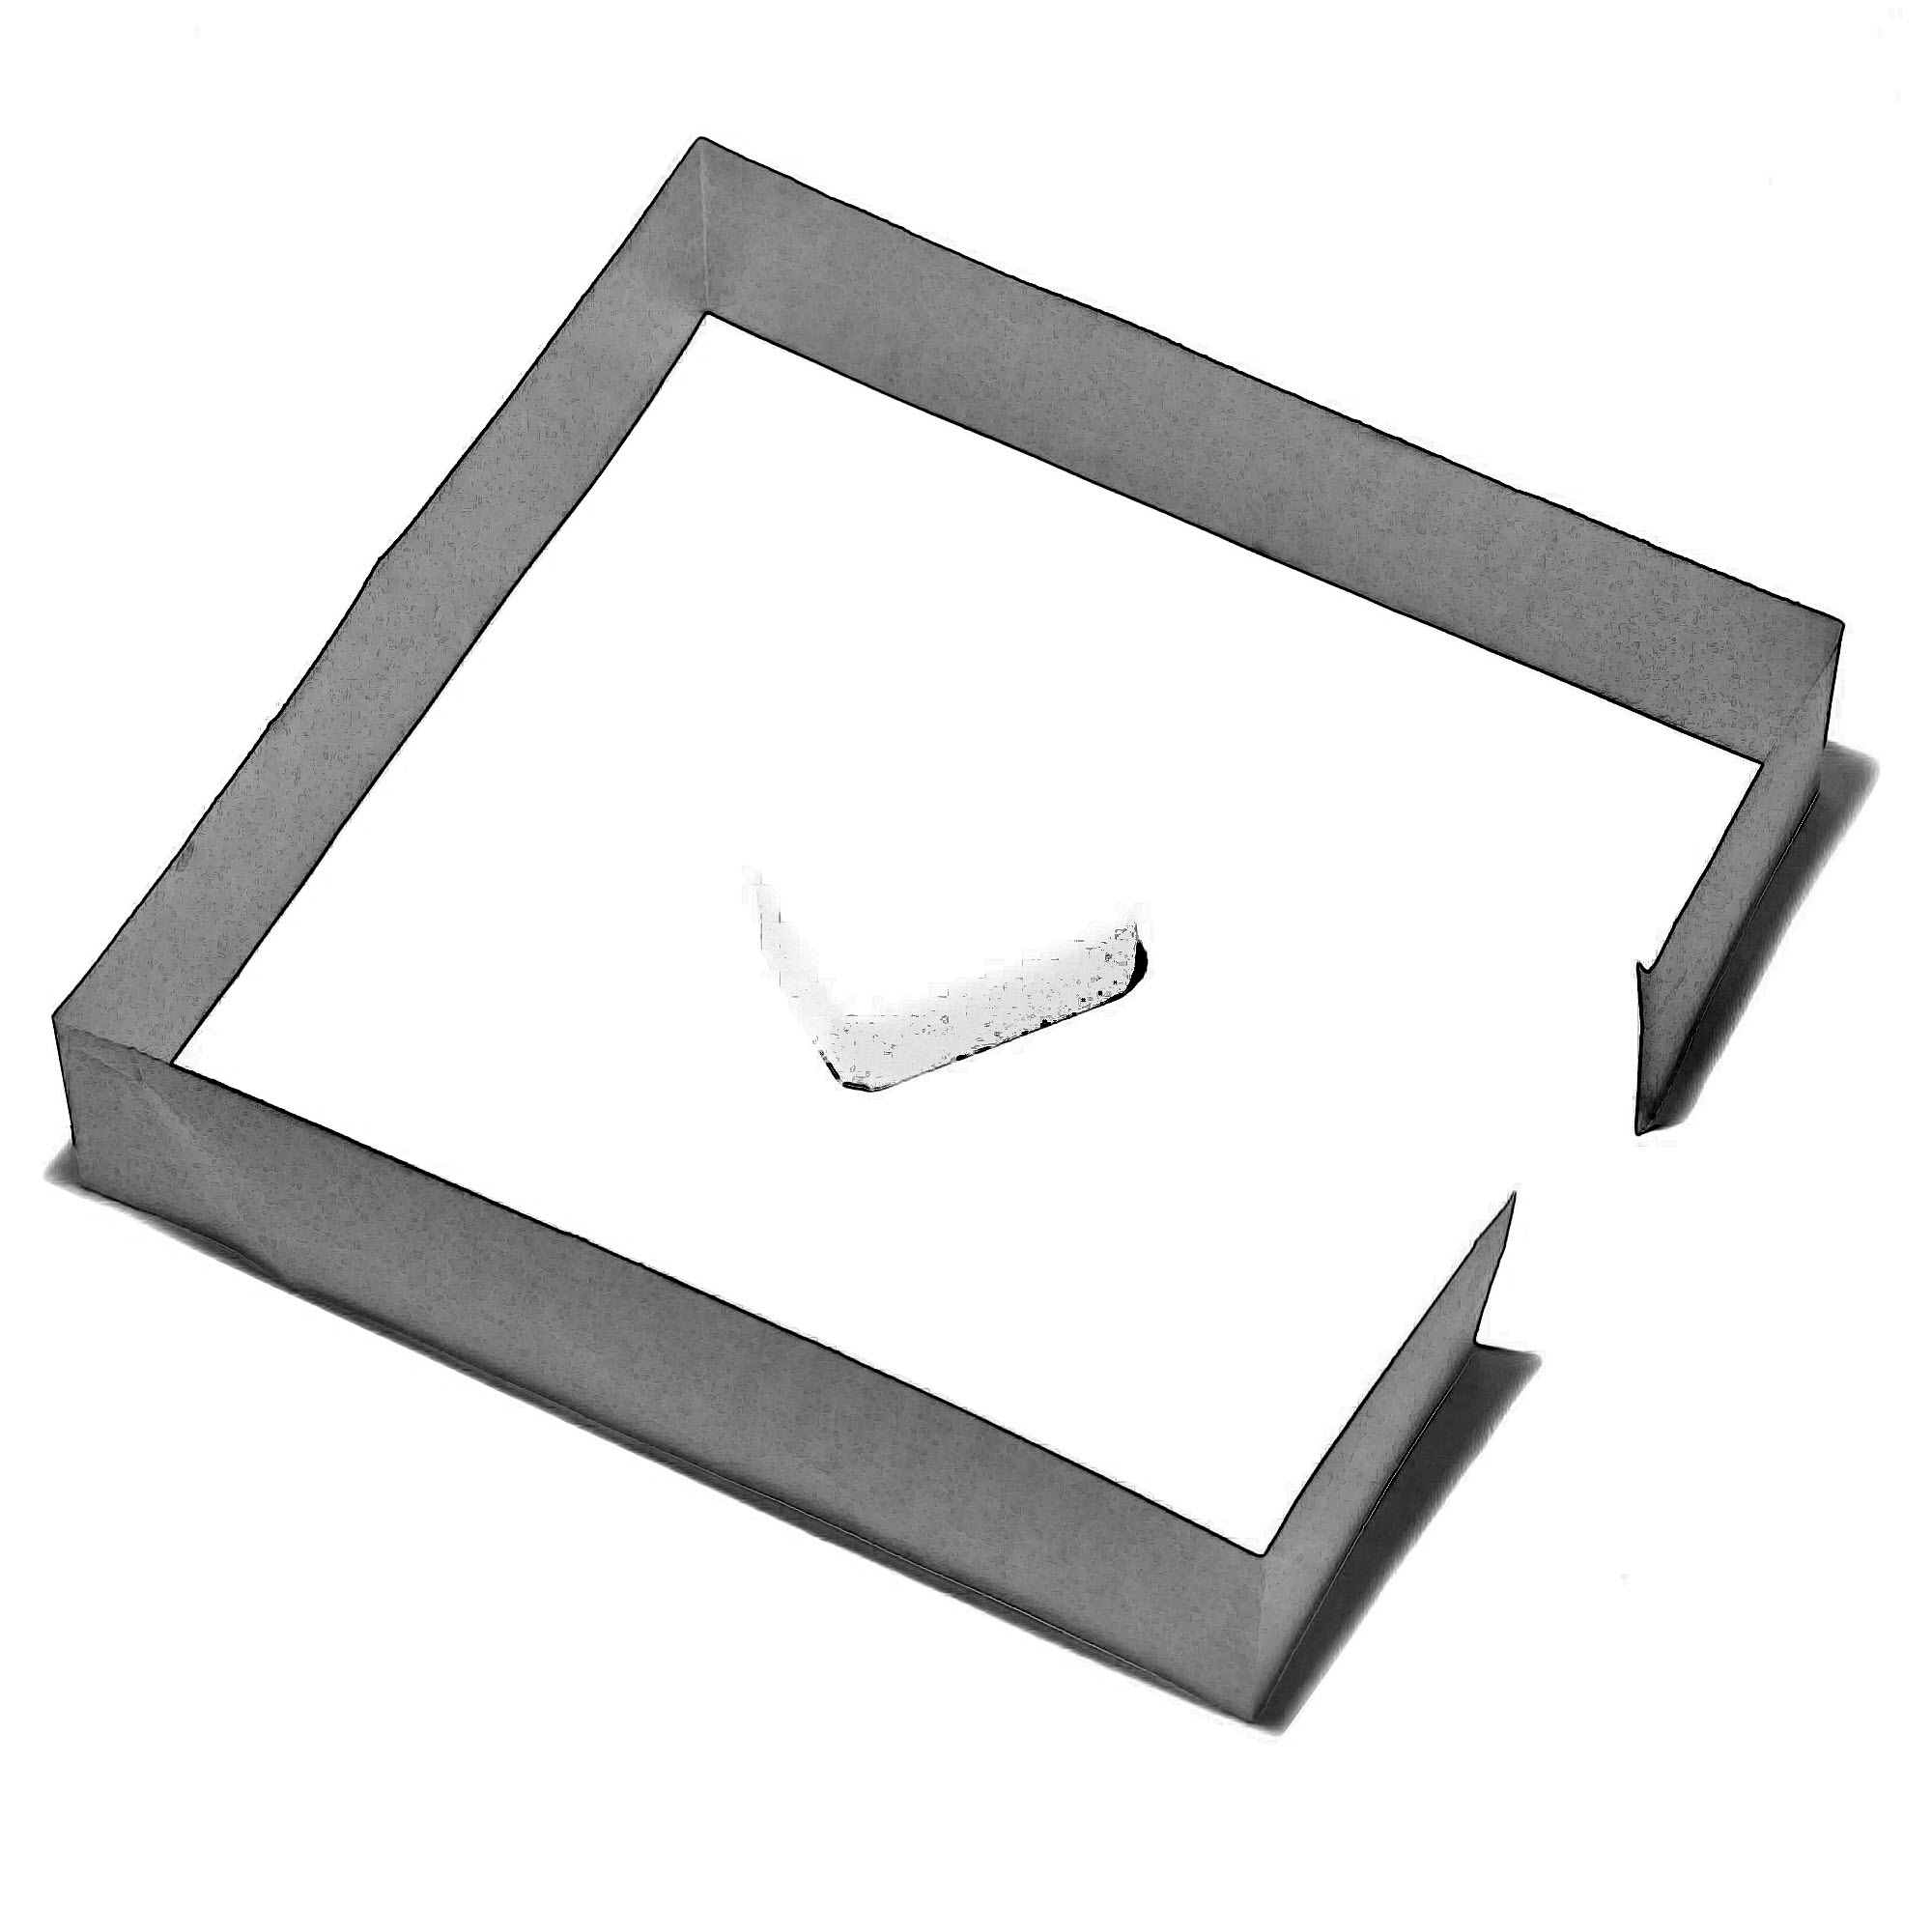
Simplest stove you can think of — get a length of steel ribbon like they use to bundle together a load of two-by-fours or some other kind of lumber at the lumberyard. Or maybe you can find some at a construction site.

Say your pot is six inches across. Take a 19-inch piece of the steel band, measure seven inches in from each end and bend it towards you into a right angle bend, then measure two inches in from each end and do the same.

Now you have a square five inches on a side open on the front side (a one-inch gap). Your pot should sit right down on it and at each corner there’ll be a little gap where the square corner peeks out from under the round pot.

Cut a piece of sheet aluminum out of an oven liner and put that down on the ground then put the steel band on that. Light an Esbit tablet and put that in the center then put your pot on top, now you have a stove and a pot support and a reflector all in one. Just protect the stove from wind and chill with a wind screen and you’re set.

I heard about this. The Esbit people say that you need the pot down low to the flame, and this is the simplest setup I’ve ever heard of.

I tried some fooling around at home with fuel tablets but they didn’t do too well for me, even sheltered from the elements. One tablet sort of almost brought 16 ounces of water to a boil and two tablets together didn’t do any better, just burned faster.

Here’s why I left it there: number one it didn’t get the water hot enough, number two I got a thick gummy coating on the bottom of my pot that took about two hours to scrape off, and number three, these tablets cost about 50 cents each. I assumed one would be enough and for me it wasn’t, nor were two.

If alcohol is 20 dollars a gallon and you use an ounce for each meal (which is a lot), and you cook two meals a day, then you’re going to spend about 30 cents a day for fuel versus two dollars a day for Esbit, assuming you use one tablet to cook and one to make a hot drink with, every meal, and you can get it to work better than I did. Some people do.

Anyway, that’s how I see it. That’s why we’re not taking up fuel tablets here too much.

Using for Long Trips

Using for Long Trips

The westerner, normally, walks to get somewhere that he cannot get in an automobile or on horseback. Hiking for its own sake, for the sheer animal pleasure of good condition and brisk exercise, is not an easy thing for him to comprehend. – The WPA Guide to Utah

For some people a long backpacking trip is a four-day weekend. For others it’s a 7800-mile (12,558 km) walk across the United States on the Sea to Sea Trail. Just between you and me and just for right now let’s call it a trip between seven and 14 days. That’s about as far as a person can go without resupply. In other words, if you travel longer than that you won’t be able to carry all the food and fuel you need, and you’ll have to resupply.

That seems like a nice cutoff.

Think of time as distance. We don’t really care if you hike 300 miles in 14 days or just 25 miles. You’ll still be carrying your food and fuel. You’ll need to eat more if you really hoof it out there, but not a huge amount more, so the weights will be roughly equivalent. For most people food weight amounts to maybe one and a half pounds a day way on the low end to about two pounds per day (of dry food – zero water content). Given 14 days, you’ll be carrying roughly 21 to 35 pounds of food (10 - 16kg).

Assume that you use an alcohol stove and are frugal with it. You just heat water and add that hot water to your food. You heat some more water for tea or instant coffee. We’ll call it one ounce of fuel per day, with a quarter-ounce safety margin. For a 14 day trip we’ll round this off to 18 fluid ounces. A fluid ounce of denatured alcohol weighs 0.8 ounces, so this gives us 14.5 ounces of weight. Compare that to a three-ounce compressed gas stove with a four-fluid-ounce fuel container weighing eight ounces, for a total of 11 ounces. Throw in a quarter ounce for the alcohol stove and a hair for a pot support and you’ve got 15 ounces for alcohol versus 11 ounces for the canister stove.

Pretty close overall, with the advantage obviously going to the canister stove. It’s more convenient but larger. It has moving parts. Carrying a spare stove would add another three ounces and from $50 to $150 for cost. If the fuel canister isn’t full, you either leave it at home, or take it plus a full one, or two or three partially-full ones.

Take another alcohol stove as a spare, and add another quarter ounce. For a solid fuel tablet setup, you can throw in a few more tabs, and use rocks to support your cooking pot – no pot support needed. Wood fires serve as a safety backup for any kind of stove.

Speaking of wood, you can make a four or five ounce wood burning stove, or go all the way with one of Nimblewill Nomad’s Little Dandy stoves, at about six ounces, folds flat, too). Once more, the weight of fuel is nonexistent. You can burn as much as you want and don’t have to carry any fuel at all.

Any commercially-made stove with moving parts is subject to repair or adjustment, in case you need to be reminded again. If you have to field strip it and fiddle with anything, there is always the chance of losing a part or two. This isn’t likely, and it’s not common, but there is a chance there. This is yet one more reason why simplicity might pay off.

OK, going for two weeks with an alcohol stove requires a relatively large amount of fuel. One way to manage this is to divide the fuel between two bottles, so if one spills or gets punctured, the other is still intact. You will remain short of fuel, but you won’t lose all of it all at once. Since the fuel (for grain alcohol or ethanol, anyway) is almost totally non-toxic, a leak isn’t a health threat on top of an accident, and the fuel won’t explode. Methanol (wood alcohol) is a little pricklier but still relatively benign, especially compared to white gas.

Here’s the final point. Say you compare an alcohol setup with a canister stove using the numbers above. You have a total 15 ounce weight for alcohol and 11 ounces for the canister stove, as stated (425 v. 312g). But that isn’t the whole picture, because you’ll be using up fuel as you go. That picture is only a snapshot for the first day. By the end of your trip you can expect to be just about out of alcohol.

Say you have one ounce of alcohol left. The weight will be 0.25 ounces for the stove, maybe one ounce for the pot support, and 0.75 ounces for the fuel bladder, plus 0.8 ounces for the leftover fuel. Total: 2.8 ounces (79g).

Now the canister stove: starting weight, 11 ounces. Using 0.2 ounces of fuel per day, you cut off a total of 2.8 ounces over 14 days, leaving you with 8.2 ounces (232g) to carry all the way to the end. It’s a 5.4 ounce (153g) difference.Thinking in rough practical terms, it’s a half pound difference.

Big snorking deal, right?

But here’s another way to look at it. The 5.4-ounce difference is about half the weight of the canister stove/fuel combination, or about a 50% weight reduction. Apply that to some of your other gear, say shelters, for example. Instead of carrying a six pound tent you’re suddenly carrying a three-pounder. Same with your pack, or sleeping bag. Cut the four pound pack back to a two pound pack. Ditch your three pound synthetic-fill sleeping bag for a much warmer 1 ½ pound down bag.

Apply this thinking all the way through, and compare starting a long trip with a pack of 30 pounds base weight and 25 pounds of consumables (55 pounds total) to a 15 pound pack plus 25 pounds of consumables (40 pounds total). That’s a real difference. After learning your way into ultralight backpacking and making some careful food choices you could start with a 10 pound pack and 20 pounds of food, for a total pack weight of 30 pounds. Anyone can feel the difference between a 30 pound pack and a 55 pound pack. Even dead people. It’s a real difference. And it is possible. It might even mean the difference between going backpacking and not.

Is that not inspiring?

Exercises

  1. Think about hiking the Sea To Sea Trail, 7800 miles east to west across the United States, or about the Appalachian Trail, or the Continental Divide Trail, or the Pacific Crest Trail. Buy a couple of Lynne Whelden’s videos. Read some books. Try not to sell your house and take off immediately.
  2. Take a longer trip than you have before. Be careful. Plan ahead. Think. Get good maps, and preferably travel with some friends. Go light.
  3. Weigh all your gear. Once you do that you’ll know where you are. You can’t improve unless you know you know where you’re starting from.
  4. Take care, be kind, and try to live a good life. We’re in your corner. Don’t forget to buy a lottery ticket and put us in your will, just in case that asteroid comes visiting this weekend.